Terracotta Tile and Grout Deep Cleaned in Poole
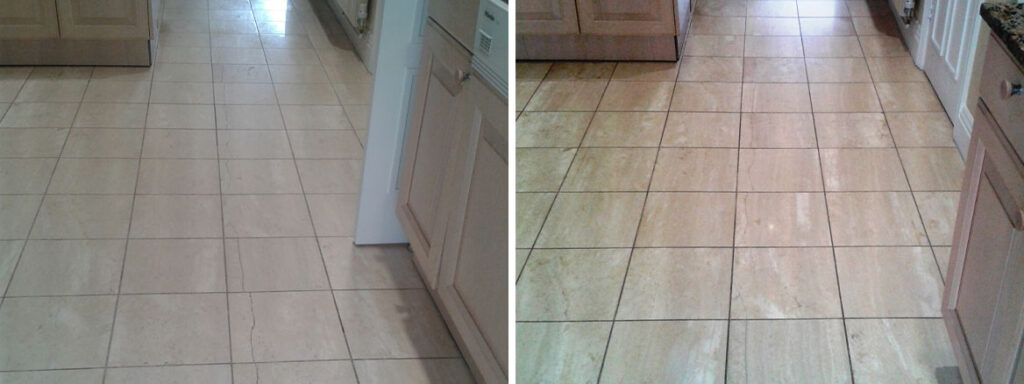
The photographs below are of Terracotta tiled floor at a house in the coastal town of Poole, Dorset that had not been professionally clean in some time and having seen years of wear and tear from the active family who live there was not looking its best.

The Terracotta had previously been treated with Wax which had now pretty much been worn off and the grout had gone dark with the dirt. We often find wax being used traditionally as a coating on Terracotta however a lot of science has gone into developing sealers in the last twenty years that do a much better job so Wax is not something we could recommend these days.
After surveying the floor and running several tests I was happy what was left of the wax could be removed and provided the customer with a quote for stripping the floor and resealing. The quote was accepted, and we arranged a date to return and carry out the work.

Cleaning Terracotta Tiles
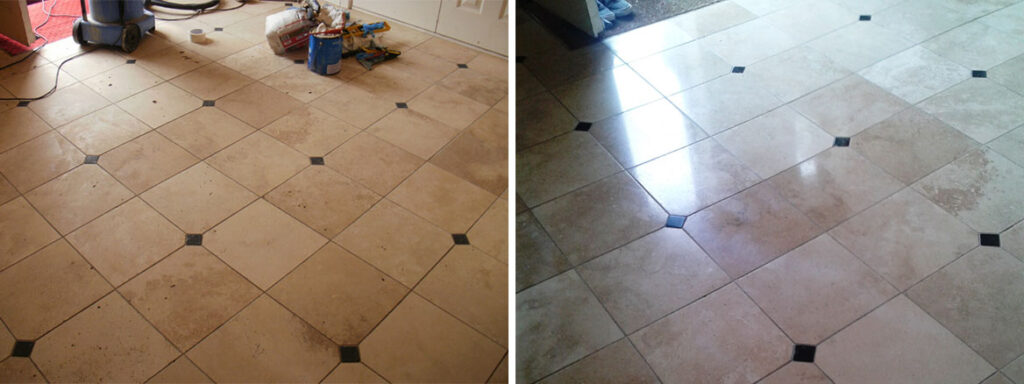
The floor was covered in a strong dilution of Tile Doctor Pro-Clean and this was left to dwell on the floor to allow it to soak into the tile and get to work on the dirt and breakdown the dirt and what was left of the wax. The solution was then worked into the tile and grout using a heavy 17″ rotary scrubbing machine fitted with a black scrubbing pad and then rinsed off using a high-pressure tool that also extracts the soil at the same time.
The grout was cleaned using more Pro-Clean and a stiff brush that was run along the grout lines. After rinsing and extracting again the floor was inspected to look for any outstanding issues. This highlighted several areas where Wax residue was still present on the tile which were spot treated using a new tile product called Tiled Doctor Wax Away which as its name suggests is designed for the purpose.
After another rinse and extraction, the floor was inspected again and this time happy with the floor it was left to dry off fully overnight with the assistance of an air mover.
Sealing Terracotta Floor Tiles
Returning the next day, the floor was checked first with a damp meter to ensure it was dry and ready for sealing. The moisture readings were all good, so I set about sealing the Terracotta using three coats of Tile Doctor Seal and Go which is a water-based sealer that adds a robust and deep finish to the tiles. This can take some time to apply as you have to wait thirty minutes to allow the first coat to dry before applying the next.

I’m not sure the photographs do it justice, but the homeowners were “over the moon” with the difference in the floor and regretted leaving it so long before calling us in.
Terracotta Tiles Deep Cleaned and Sealed in Dorset
Terracotta Tile and Grout Deep Cleaned in Poole Read More »